Cassette removal, locknut removal, and cassette reinstallation.
In order to use the updated thru axle adapters, you will need to--
- Remove the current adapters.
- Remove your cassette.
- Remove the freehub body/axle locknut.
- Install the updated freehub body/axle locknut.
- Reinstall the cassette.
- Install the updated thru axle adapters.
Required Tools:
- Chain Whip (Park Tool SR-12.2 or similar), chain vise, or chain pliers.
- Cassette Lock Ring Tool (Park Tool FR-5.2 or similar)
- Adjustable Wrench or socket to accommodate 1 inch
- a 17mm* cone wrench or crescent wrench (adjustable wrench also acceptable)
- a 14mm cone wrench
1. Remove the current adapters.
2. Remove your cassette
- Use the chain whip (or chain vice as pictured) to brace the cassette.
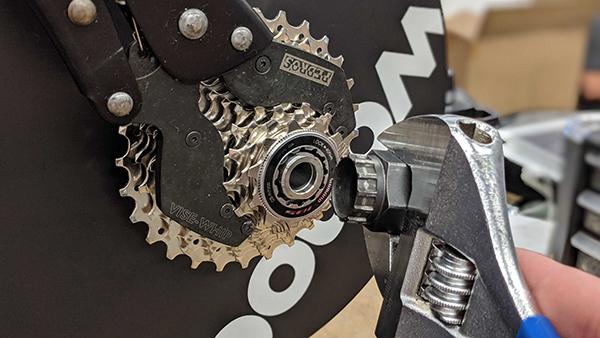
- Insert the cassette lock ring tool and use the adjustable wrench to to loosen the lockring by rotating it counter-clockwise.
- Once loose, you can remove the wrench and use the lockring tool to unthread the lockring by hand.
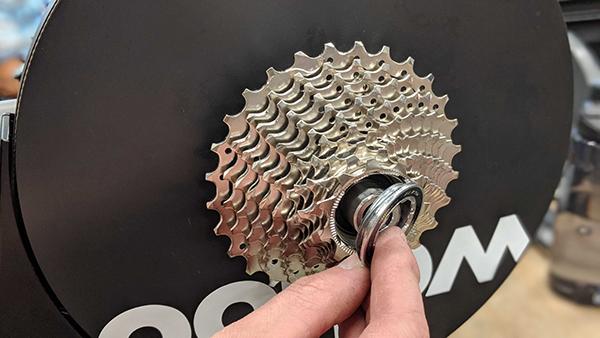
- Gently pull the cassette outward with both hands, noting that the cogs will be loose when free of the freehub body. Having a zip tie handy to loop through a cassette to ensure the order of the cogs is maintained can be helpful.
3. Remove freehub body/axle locknut
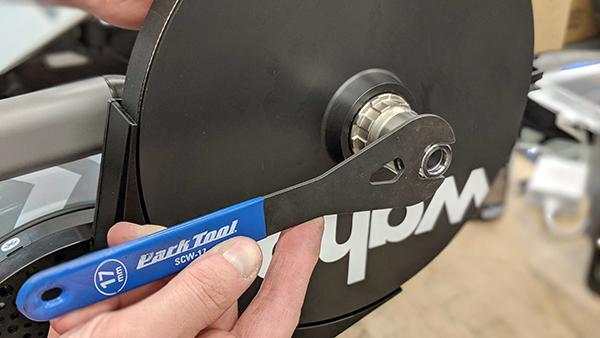
- Use the 17mm* cone wrench to remove the existing original lock nut.
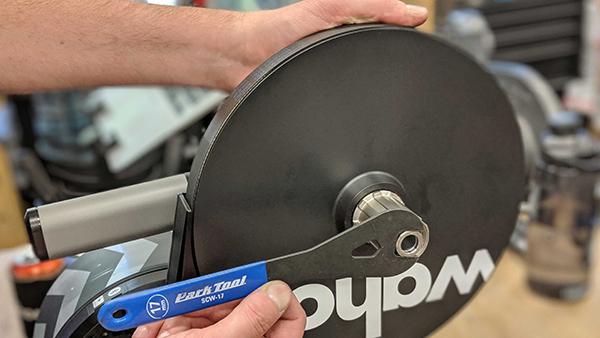
4. Install the updated freehub body/axle locknut.
- Thread on the new lock nut.
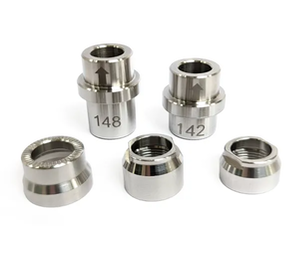
The lock nut for the stock Shimano HG11 freehub body is 13.7mm deep (bottom middle). The XDR lock nut is 10.5mm deep (bottom right).
- Tighten with the 14mm cone wrench, again holding the pulley with your other hand for stability. Tighten until snug, being sure to avoid applying excessive force.
5. Re-install the cassette.
- If you look at the inside of a cassette cog, you will see one cavity or gap in the circle that is narrower than all the others. Line this gap up with the corresponding single narrow spline on the freehub body. This keying system ensures that you cannot install a cog backwards.
- If you have dropped the cassette, place the cogs onto the freehub body largest to smallest, placing a spacer between each cog until the smaller cogs which include a built-in spacer (normally the last 3 or so).
- Hand thread the cassette lockring to check for cross-threading (immediate resistance) before applying a tool. You can rotate the locknut counter-clockwise to help find the start of the thread before threading clockwise. When snug, tighten further with the adjustable wrench another 6 - 10 clicks (roughly 1/4 turn).
6. Install the updated thru axle adapters.
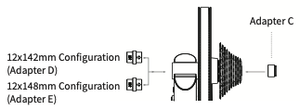
- The updated adapter kit has two different non-drive (left) side adapters -- D for 142mm frames and another, E for 148mm. Use the one appropriate for your frame.
- Don't forget to re-install the drive (right) side spin cap.
If your concern is unresolved or you have questions, please submit a support request and our support team will be happy to assist you further.